Analytics API
Introduction
To import analytics data, use the Analytics API, following these steps:
- Connect the Google Search Console to your Knowledge Graph (Botify is also supported as an alternative to Google Search Console, inquire with us).
- Run the Analytics Import.
Authorization
Using the Analytics API requires a WordLift Key. If you're unsure which one is the WordLift Key for an account, go to my.wordlift.io and scroll through the list of websites.
Connect Google Search Console
In order to connect the Google Search Console to your Knowledge Graph, a client needs to perform an interactive authentication and authorization process with Google by using a Web Browser.
Determine the Resource Id
Each website or domain in Google Search Console has a resource ID. The resource ID is required to configure the Analytics API properly.
To retrieve the resource ID open the Google Search Console and select the desired website or domain from the left:
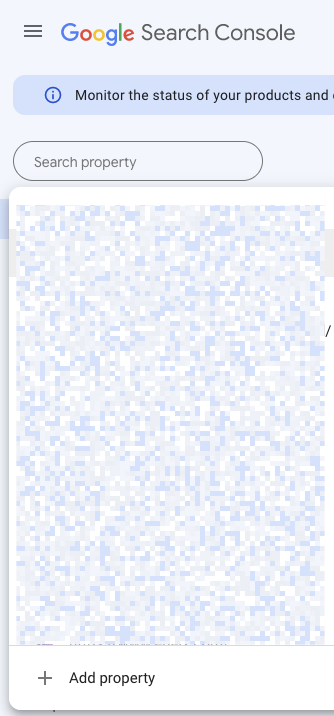
Then select the resource_id value:
![]()
The value is URL encoded, and it requires to be decoded. DuckDuckGo provides a handy way to decode a URL:
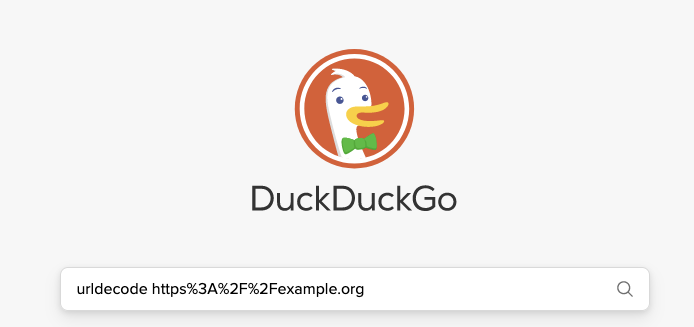
Take note of the decoded resource ID, it will be used later (in this example https://example.org):

Create an Authorization URI
The process starts using a specially crafted URL. To get the URL use the "Build Authorization URI" API (replace <key> with your WordLift Key):
curl -X "POST" "https://api.wordlift.io/google-search-console/oauth2/authorize-uris" \
     -H 'Authorization: Key <key>' \
     -H 'Content-Type: application/json; charset=utf-8' \
     -d $'{
  "redirect_uri": "https://developers.google.com/oauthplayground"
}'
The redirect_uri must be set to https://developers.google.com/oauthplayground.
This will yield the following response:
{
  "authorize_uri": "https://accounts.google.com/o/oauth2/v2/auth?redirect_uri=https%3A%2F%2Fdevelopers.google.com%2Foauthplayground%2F&prompt=consent&response_type=code&client_id=615875160260-bsbm4u5fb2hrke3ln89n33v8rmmksth9.apps.googleusercontent.com&scope=https%3A%2F%2Fwww.googleapis.com%2Fauth%2Fwebmasters.readonly&access_type=offline"
}
Open the above URL in a Web Browser.
Authenticate and Authorize with Google
When requested provide your Google e-mail address. The account must be able to access the Google Search Console for the target account:
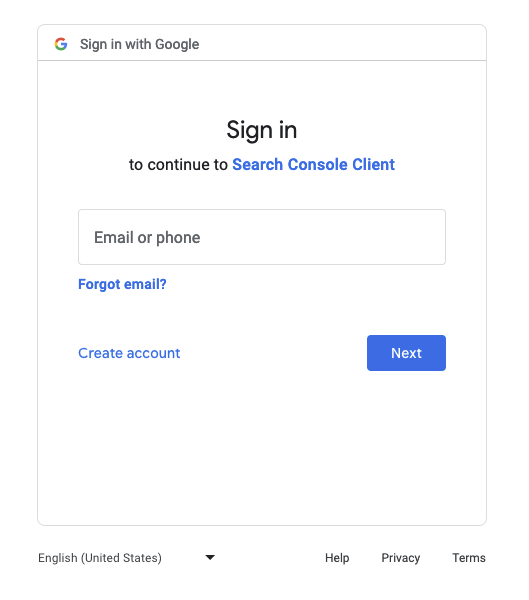
Then provide the password and complete authentication:
If requested, provide a 2-Step Verification code:
Then finally click "Allow" to authorize the Analytics API to access the Google Search Console data:
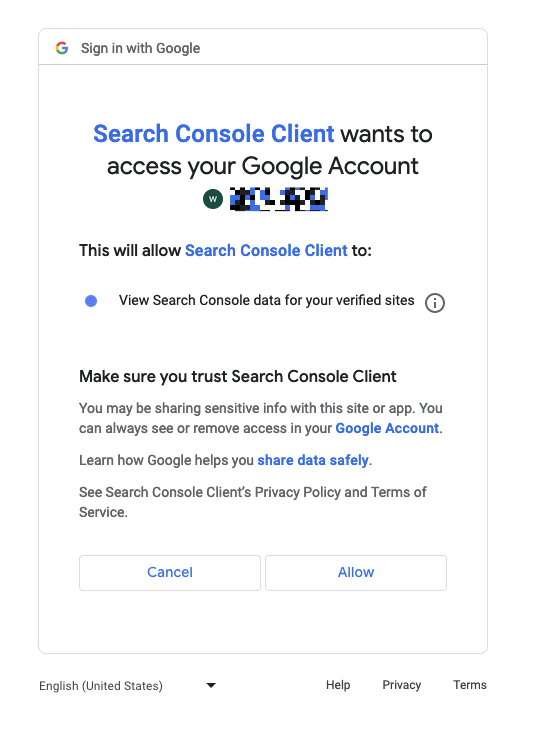
After clicking "Allow", the browser is redirected to a URL like this:
https://developers.google.com/oauthplayground/?code=<authorization-code>&scope=https://www.googleapis.com/auth/webmasters.readonly
Copy the value in code=<authorization-code> (the <authorization-code> part) to use it with the Exchange Authorization Code API.
Create an Authorization Code Exchange
Send the authorization-code to the Exchange Authorization Code API:
curl -X "POST" "https://api.wordlift.io/google-search-console/oauth2/auth-code-exchanges" \
     -H 'Authorization: Key <key>' \
     -H 'Content-Type: application/json; charset=utf-8' \
     -d $'{
  "code": "<authorization-code>",
  "google_search_console_resource_id": "<resource_id>"
}'
If you don't know the resource ID, see how to determine the resource ID.
If successful, the access token will be stored in the platform and the API will return an empty JSON object:
{
  "scope": "https://www.googleapis.com/auth/webmasters.readonly",
  "access_token": "<access-token>",
  "expires_in": 3599,
  "token_type": "Bearer",
  "refresh_token": "<refresh-token>"
}
Connect Botify
Botify is also supported as an alternative to Google Search Console, inquire with us.
You can only connect one platform at a time.
Update the Account with the URL
The last step before calling the Analytics import is to configure the website URL:
## Update Accounts
curl -X "PUT" "https://api.wordlift.io/accounts?key=<key>&url=<url>&country=<country>&language=<language>" \
     -H 'Authorization: Key <key>' \
     -H 'Accept: application/json' \
     -H 'Content-Type: application/x-www-form-urlencoded; charset=utf-8'
Set the following parameters:
key: is the WordLift key associated with the accounturl: is the URL of the target website (in the example abovehttps://example.org)country, optional: the 2 letters country code, e.g.USlanguage, optional: the 2 letters langauge code, e.g.EN
If successful the API will response with 200 and the following JSON:
{
  "datasetURI": "https://data.example.org/dataset/",
  "packageType": "<your-package-type>"
}
Call the Analytics Import
Calling the Analytics import is as simple as submitting the following request:
curl -X "POST" "https://api.wordlift.io/analytics-imports" \
     -H 'Authorization: Key <key>' \
     -H 'Content-Type: application/json'
Replace <key> with your WordLift key. The API will import the analytics data for all the URLs published in the Knowledge Graph.