Installation
We suggest our users to make a full back-up of their website data before installing WordLift.
Requirements
WordLift is currently available on WordPress 4.4 and later.
Installation
You can install WordLift from the WordPress plugin directory or manually by uploading the files to your server.
Automatic Installation
Automatic installation is the easiest way to install WordLift. WordPress handles the file transfers itself and you don’t need to leave your web browser. To do an automatic install of WordLift, log in to your WordPress dashboard, navigate to the Plugins menu and click Add New.
In the search field type “WordLift” and click Search Plugins. Once you’ve found our plugin you can view details about it such as the description, the features, and user reviews. Most importantly of course, you can install it by simply clicking “Install Now”.
Manual Installation
The manual installation method involves downloading our plugin and uploading it to your webserver using your favourite FTP application.
Download the provided zip file to the wp-content/plugins directory of your WordPress installation. Unzip the file,
from the command line:
unzip wordlift.zip
More information on the manual installation are available on the WordPress Codex website.
Activation
To activate the plugin you need a WordLift key. You receive this key after purchasing a subscription plan the WordLift website. An automatic email will be then sent to you containing your key and account information.
You can use the setup Wizard upon startup to activate your subscription.
When doing so you are able to configure the key, the entity base path (the URL pattern of the WordLift internal vocabulary), the languange used on the website and the publisher of the website.
Alternatively, from the WordPress administration menu, click on Plugins / Installed Plugins. Then click on Settings on the WordLift plugin.
Configuration
The Settings are also accessible by hovering on the WordLift logo on the WordPress dashboard menu; from there a menu will open. Click on Settings to open the settings screen:
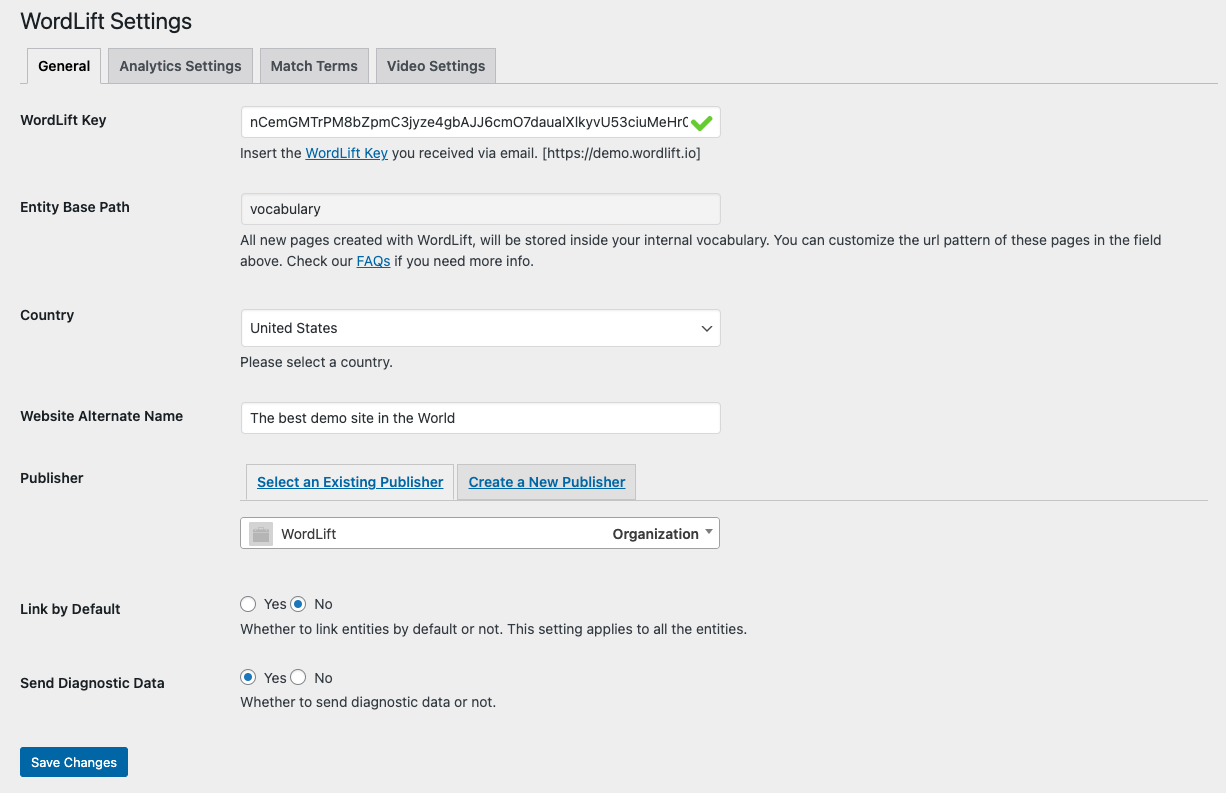
From Settings screen, as from the Wizard, you can configure:
WordLift Key
The WordLift Key, required to activate the plug-in that can be purchased from the website.
Entity Base Path
When selecting or creating new entities with WordLift, you are actively building your internal vocabulary, adding pages to your website. When you first built your website, you chose a pattern for the url of the pages you were going to add, such as www.domain.com/name-of-the-page or www.domain.com/seo-keyword/name-of-the-page. The same applies with all the pages created with WordLift inside your vocabulary. By default WordLift will add the word “vocabulary” between your root domain and the name of the page: www.domain.com/vocabulary/name-of-the-entity-page. You can delete the word vocabulary if you want the new entity page to be inside your root domain folder: www.domain.com/name-of-the-entity-page. Or you can replace vocabulary with another keyword (or keywords) of your choice, for SEO or branding reason: www.domain.com/seo-keyword/name-of-the-entity-page.
Site Language
The main language used on your website. This is the language that will be used by WordLift when creating the editorial metadata of your content. Be aware, each key should be used for one language only.
Publisher
The person or the organization publishing the content of the website. This is also an entity that can be created directly from this setting screen. This information is used to enrich the metadata on your website.
For more information on the multilingual support of WordLift read here.
You can now continue to the Key Concepts page or head directly to the Analysis.